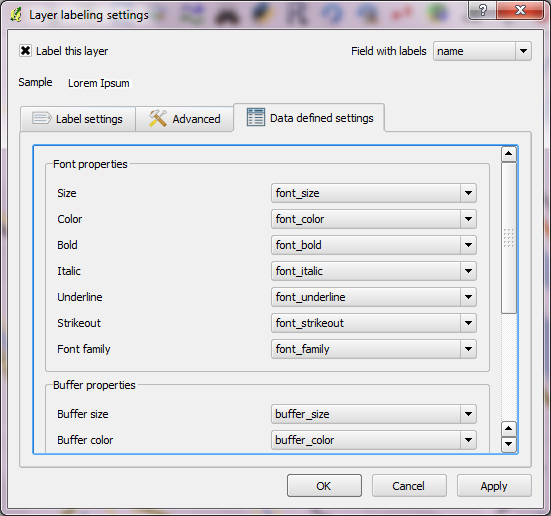
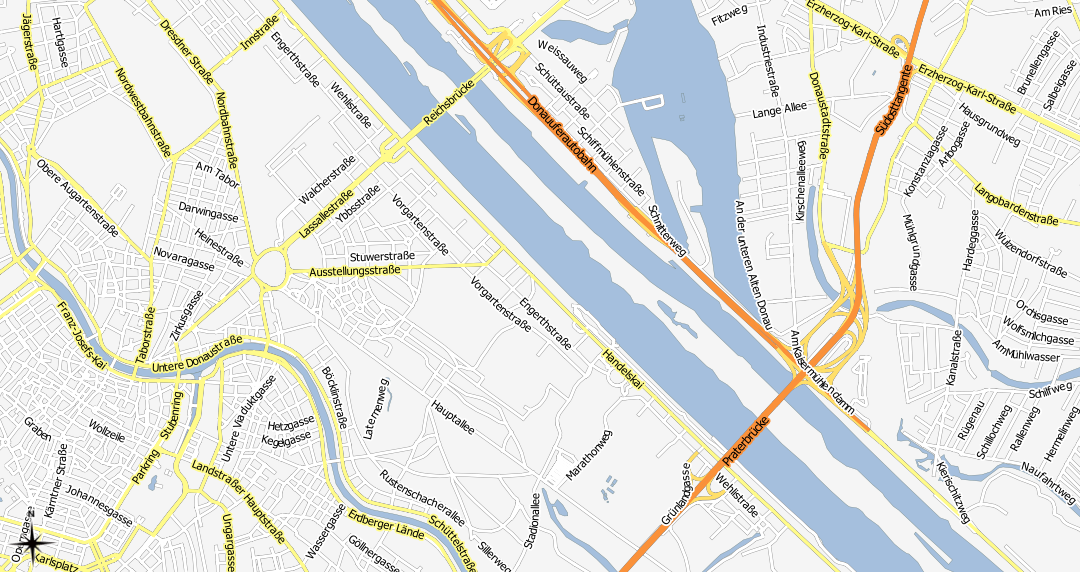
This is a follow up post on “Guide to Advanced Labeling for OSM Roads”. This post covers how to create a map that looks similar to the classic Google Maps map based on OSM data.
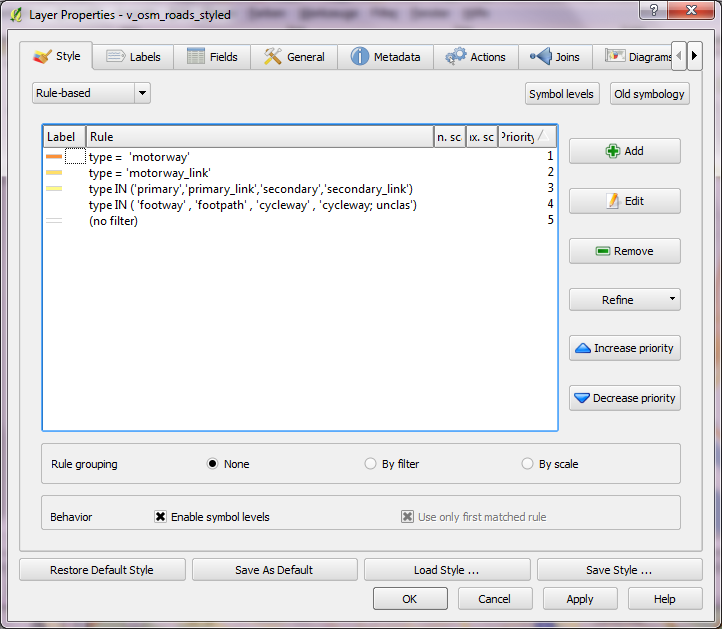
Styling OSM road data is a bit tricky due to the many different possible options in OSM “type” tag. It takes some fiddling around to get results similar to Google. The easiest way to create such a style is using rule-based renderer with “Symbol levels” enabled.
I’ve excluded a number of road types from being rendered and labeled. This is done by NOT specifying a rule that fits those classes. That’s the reason why I don’t have a “no filter” rule. Instead, I’ve specified
type NOT IN ('footway','footpath','steps','cycleway','pedestrian','track','bridleway')
to cover all the roads I don’t want specifically highlighted but displayed using default style. This way I can make sure that footways and similar are neither drawn nor labeled.
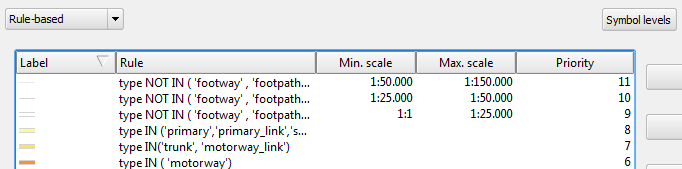
Google-style rules for OSM with multiple zoom levels
Now, we can have a look at how to create those road shields Google uses:
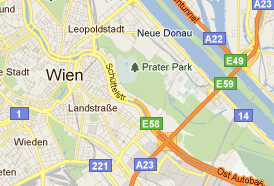
Sample from Google Maps
Currently, it’s not possible to solve this using the labeling engine. And even after labels with “shields” will be implemented, there is still the problem that we want both road names and road numbers labeled – preferably without having to duplicate the layer.
For now, one possible solution for this is to create the shields using the “Marker lines” feature of new symbology. As the name suggests, you can put markers on lines. In this case, the marker will be our road shield. It basically has two parts: the colored shield plus the text. The shield can be created by putting two squares besides each other. (Adjust the offsets to move them besides each other.) Then we can put the text on top, one letter at a time.

Creating the road shield marker
Place the marker on the line once and deactivate “Rotate marker”.
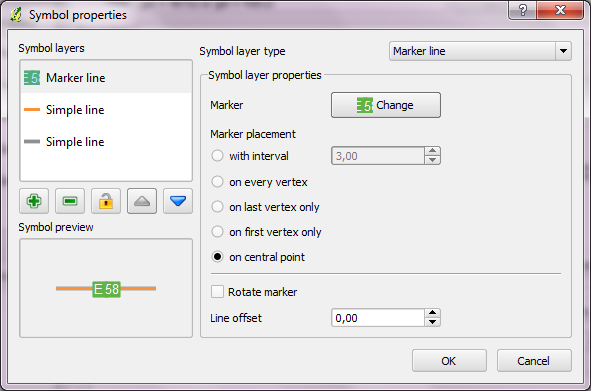
A "road with shield" style
These styles can be assigned to every road you want to decorate with a shield. If you save the style, you just need to change the text next time.
And this is how the result can look like.
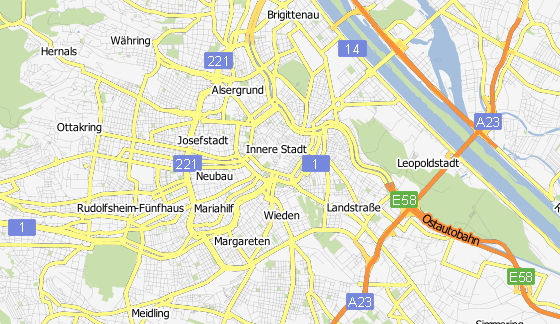
Zoomed-out result
Maybe the shields turned out a little too big compared with the original.
Zoomed in, more labels will be displayed and an additional layer with metro stations becomes visible. The metro symbol was created using the same technique described for the road shields.
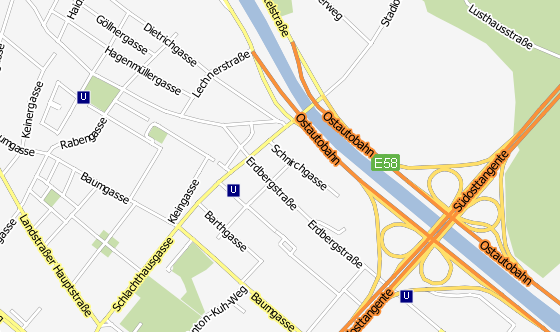
Zoomed-in result
One disadvantage of creating road shields with this technique – besides the fact that it’s rather tedious – is that there is no collision detection between labels and shields. Nonetheless, it’s a viable solution that allows you to create high-resolution maps that look very similar to Google Maps using free OSM data.