Archive

Author Archives: underdark

As announced in Salzburg a few days ago, I’m happy to present the lastest enhancement to my IDF router for QGIS: travel time routing and catchment computation.

Travel times for pedestrians and cyclists are computed using constant average speeds, while car travel times depend on the speed values provided by the road network data.

Catchment computations return the links that can be traversed completely within the given time (or distance limit). The current implementation does not deal with links at the edge of the catchment area, which can only be traversed partially.

Loading the whole network (2.7GB unzipped IDF) currently requires around 10GB of memory. One of the next plans therefore is to add a way to only load features within a specified bounding box.

Plans to turn this into a full-blown plugin will most likely have to wait for QGIS 3, which will ship with Python 3 and other updated libraries.

Screenshot 2016-07-17 22.04.54

Last week I had the pleasure to attend the combined FOSSGIS, AGIT and GI_Forum conferences in Salzburg. It was a great joint event bringing together GIS user and developers from industry and academia, working with both open source and commercial GIS.

I was particularly impressed by the great FOSSGIS video team. Their tireless work makes it possible to re-watch all FOSSGIS talks (in German).

I also had the pleasure to give a few presentations. Most of all, it was an honor to give the AGIT opening keynote, which I dedicated to Open Source, Open Data & Open Science.

In addition, I also gave one talk related to an ongoing research project on pedestrian routing. It was really interesting to see that other people – in particular from the OSM community – also talked about this problem during FOSSGIS:

(For more details, please see the full paper (OA).)

To wrap up this great week, Astrid Emde, Andreas Hocevar, and myself took the chance to celebrate the 10th anniversary of OSGeo during AGIT2016 OSGeo Day.

https://twitter.com/underdarkGIS/status/751322764867436549

And last but not least, I presented an update from the QGIS project with news about the 3.0 plans and a list of (highly subjective) top new features:

CKAN is for data portals what QGIS is for GIS. The project describes itself as

CKAN is a powerful data management system that makes data accessible – by providing tools to streamline publishing, sharing, finding and using data. CKAN is aimed at data publishers wanting to make their data open and available.

Many open (government) data platforms rely on CKAN and while the web interface is pretty good, there’s still the hassle of finding and downloading the data using a web browser.

This is where the QGIS CKAN-Browser plugin comes in useful. The plugin has been developed by BergWerkGIS for the state of Carinthia, Austria and added to the public plugin repo earlier this year. CKAN-Browser comes preconfigured with some Austrian and European CKAN URLs for testing, so you can get going really quickly. It is easy to search for specific datasets or explore the portal’s data categories and it is just one click to download and load the data into your QGIS map:

Screenshot 2016-06-26 22.25.00

Here’s a quick demo of loading a vector dataset as well as raster tiles:

For the full usage guide, visit the plugin’s Github page.

It’s great to see how well CKAN and QGIS can play together to enable seamless access to open data!

We are looking forward to a hot geo summer here in Central Europe with both the German FOSSGIS (this year in conjunction with the annual AGIT conference) and the international FOSS4G just a few weeks away. It’s going to be exciting, and I still have a lot of talks (and a keynote) to prep for both events ;-)

If you speak German and want to enhance your geo skills, the FOSSGIS program offers some great opportunities and there is still the chance to sign up for a couple of great FOSSGIS workshops:

Of course the program also features many non-QGIS workshops. If I’d have to pick one of them, it would most certainly be Marc Jansen’s and Andreas Hocevar’s OpenLayers 3 workshop because it’s always great to get the latest information first hand, directly from the developers.

Online registration closes on June 25th.

If you could not make it to Girona for this year’s QGIS user conference, here’s your chance to catch up with the many exciting presentations and workshops that made up the conference program on May 25-26th:

(Some resources are still missing but they’ll hopefully be added in the coming days.)

Update: Now you can also watch the talks online or even download them.

Thanks to everyone who was involved in making this second QGIS user conference a great experience for all participants!

https://twitter.com/timlinux/status/735744123374698497

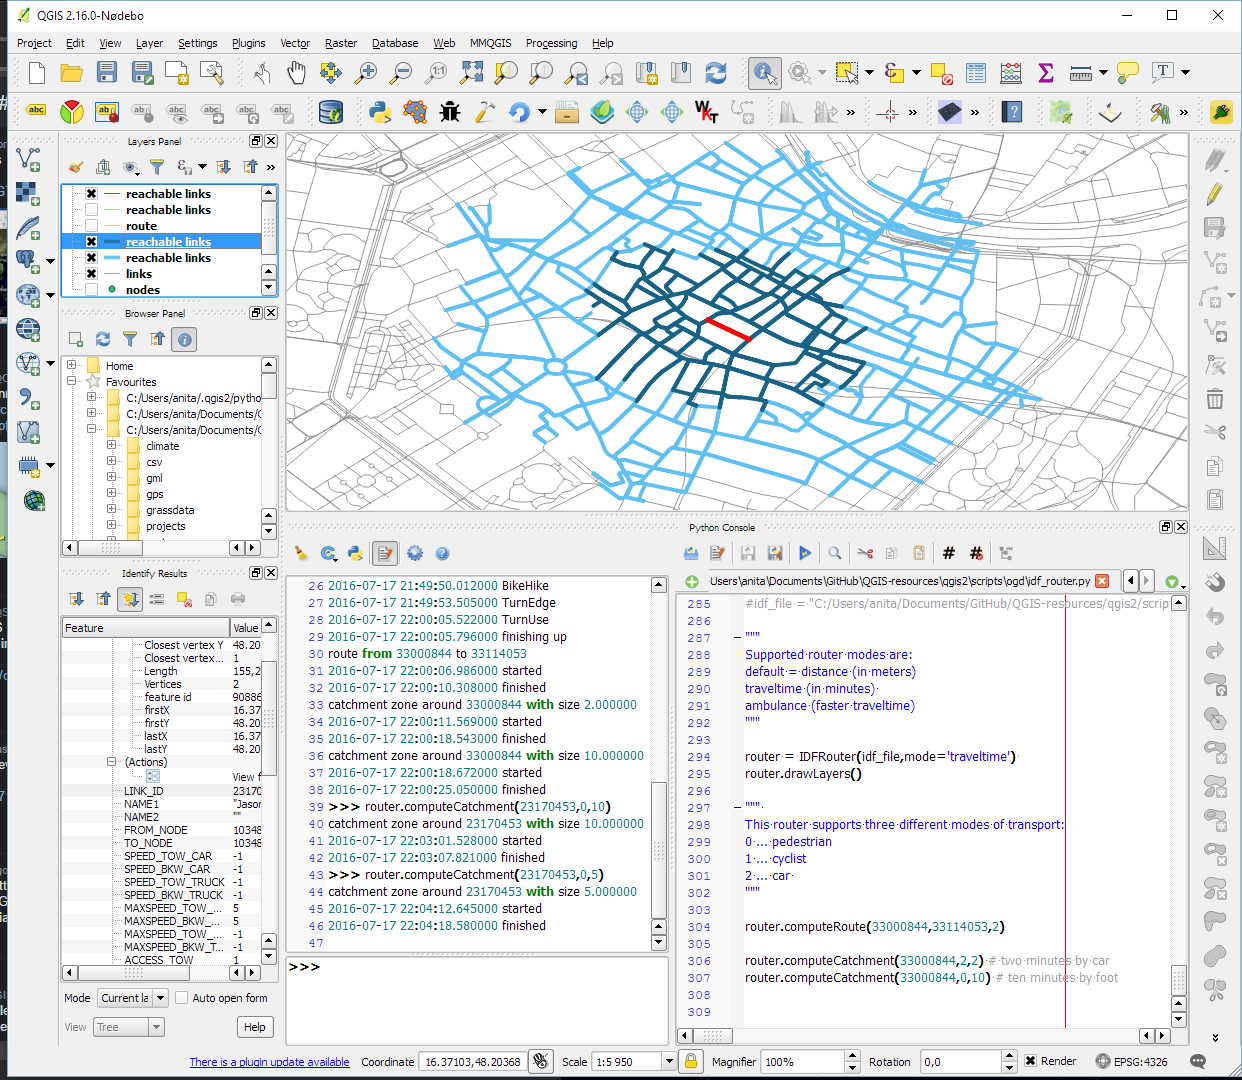
If you follow me on Twitter, you’ve probably seen previews of my experiments with round maps. These experiments were motivated by a recent question on GIS.stackexchange whether this type of map can be created in QGIS and while it’s not very convenient right now, it is definitely possible:

http://www.quantarctica.org

All maps in this post are created using data from the Quantarctica project.

I’ve been planing to try the Quantarctica datasets for a long time and this use case is just perfect. When you download and open their project, you’ll see that they have already clipped all datasets to a circle around Antarctica:

Quantarctica project with some custom styling

Quantarctica project with some custom styling

Since the map of the full extent of the dataset is already clipped to a circle, the overview map is easy to deal with. The detail map on the other hand is rectangular by default:

circle_maps_start

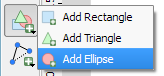
Since we cannot change the shape of the map item, we have to use a mask instead. To create a circular mask, we can add an ellipse shape:

circle_maps_addellipse

The main challenge when creating the mask is that there is no inverted polygon renderer for shapes in print composer. I’ve evaluated two workarounds: First, I created a style with a wide white outline that would cover all map parts outside the circle shape. But this solution slowed the print composer down a lot. An alternative, which doesn’t suffer from this slowdown is using draw effects:

circle_maps_mask_style

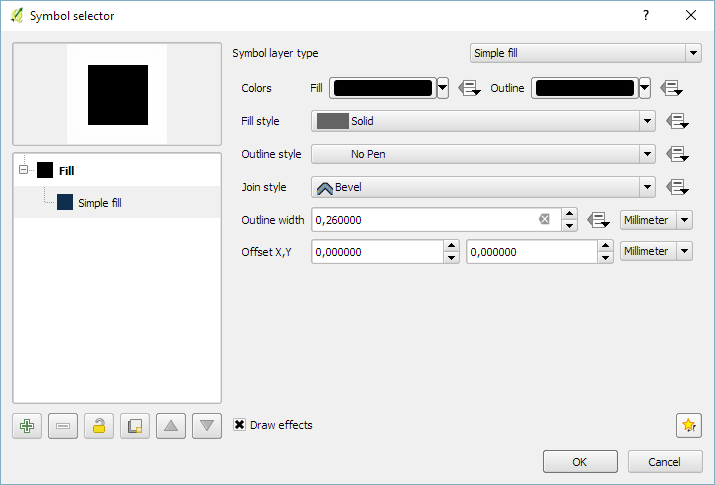
In particular, I created a big outer glow effect:

circle_maps_mask_style_effect

Note that the effect only works if the symbol itself is not transparent. That’s why I set the symbol fill to black and used the Lighten blending mode:

circle_maps_mask

Voilà! Both maps are nicely circular.

It is worth noting though that this workaround has a downside: it is not possible to create automatic grids/graticules for these maps. The graticule in the overview map only works because it is a layer in the main project that was already clipped to the circular shape.

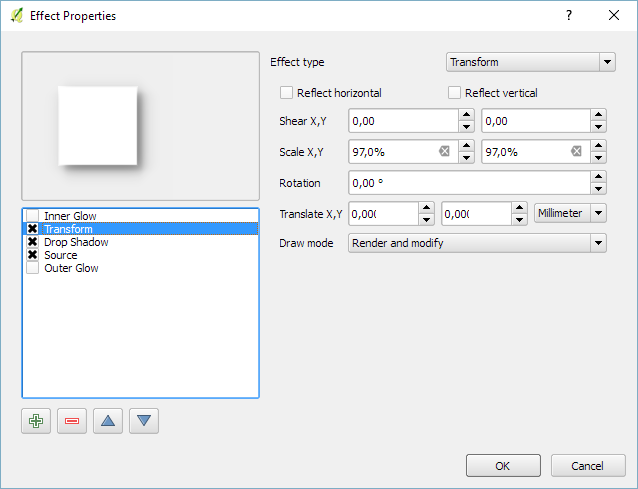
Finally, you can add more depth to your map by adding shadows. To create the shadow effect, I added additional ellipse items which are styled with a drop shadow draw effect. If you only enable the drop shadow effect, you will notice that the shadow is cut off at the ellipse bounding box. To avoid this undesired effect, you can add a transform effect, which reduces the size of the drawn shape and it’s shadow so that the shadow fits into the bounding box:

circle_maps_mask_shadow_effect

It requires some manual adjustments to place the shadow at the optimal location on top of the mask:

circle_maps_mask_shadow

Add another ellipse to create the shadow for the overview map.

For more cartography tips and tricks check my new book QGIS Map Design or join my QGIS training courses.

Last year, I published the short post QGIS on the rise with journalists showcasing how QGIS is used by journalists with examples from the Los Angeles Times and Financial Times.

The latest QGIS case study now features an interview with Steven Bernard (Interactive Design Editor at the Financial Times) by A. Neumann and T. Sutton.

QGIS is now an integral part of our mapping workflow. (…) I would say 80% of our maps are now produced in QGIS. read more …

It’s great to see all the great examples of QGIS used to communicate international news. Thanks to everyone involved in this interview for sharing this case study with the community!

In time for QGIS 2.14 (soon to be LTR), I have updated “Learning QGIS” to reflect the latest improvements of our favorite GIS.

To celebrate, we are giving away 100 copies of the book at 30% (for print) and 50% (for eBook) discount if you use the following codes:

30% off  the Print version
Code: prt30LeaQS

50% off the eBook version
Code: LeaQSebok50

(Codes are valid until 30th April 2016 or we’ve reached 100 copies.)

B05278_MockupCover_Normal

Following up on last week’s post, Nyall has continued his work on the QGIS gradient editor:

Latest version of the new QGIS interactive gradient edit. This now includes an interactive plot of the color hue/saturation/lightness/alpha, allowing a visual overview of these color components and easy editing.

Another equally awesome demo has been posted by Nathan, who is currently working on usability improvements for labeling and styling without blocking dialogs:

This is going to be great for map design work because it makes many complex styles much easier to create since you can interact with the map and attribute table at the same time.

These are definitely two developments to follow closely!

Interesting developments going on if you like creating your own gradients. After all, that’s not as easy as it might initially seem, as Gregor Aisch describes in his post “Mastering Multi-hued Color Scales with Chroma.js”:

The issues with simple color interpolations, which include nonuniform changes in lightness between classes, also haunt us in cartography. Just have a look at the map and legend on the left-hand side, which has been created using a normal custom QGIS gradient with colors ranging from black to red, yellow and finally white. We end up with three classes in yellow which are nearly impossible to tell apart:

comparing_ramps

For comparison, on the right side, I’ve used Gregor’s corrected color ramp, which ensures that lightness changes evenly from one class to the next.

Wouldn’t it be great if the built-in gradient tool in QGIS could correct for lightness? Too bad the current dialog is not that great:

My first reaction therefore was to write a short script to import gradients from Gregor’s Chroma.js Color Scale Helper into QGIS:

https://twitter.com/underdarkGIS/status/716389969850404864

But we’ll probably have a much better solution in QGIS soon since Nyall Dawson has picked up the idea and is already working on a completely new version of the gradient tool. You can see a demo of the current work in progress here:

I’m really looking forward to trying this out once it hits master!